Introduction
Custom t-shirt printing has become a powerful way for individuals, small businesses, artists, and organizations to express ideas, promote brands, or simply showcase creativity. One of the most popular and time-tested methods in this field is silk screen printing, also known as screen printing. If you’re new to this technique, this comprehensive beginner’s guide will walk you through everything you need to know—from tools and materials to design tips and production steps.
What is Silk Screen Printing?
Silk screen printing is a technique where ink is pushed through a mesh screen (originally silk, now typically polyester) onto a surface—in this case, a t-shirt. A stencil blocks the ink in certain areas, creating a printed design. It’s ideal for printing in bulk due to its cost-effectiveness, color vibrancy, and long-lasting quality.
A Brief History of Silk Screen Printing
Silk screen printing originated in ancient China and spread across Asia before gaining traction in the Western world in the 20th century. It rose to prominence in the fashion and commercial printing industries and was popularized further by artists like Andy Warhol.
Why Choose Silk Screen Printing for Custom T-Shirts?
1. Durability
The prints created through this method are known to withstand numerous washes without fading or cracking.
2. Bold, Vibrant Colors
Screen printing allows for thick layers of ink, which means your designs will pop on both light and dark fabric.
3. Cost-Effective for Bulk Orders
Once the screen is set up, it can be reused multiple times—making large runs of the same design very affordable.
4. Versatility
Silk screen printing can be used on a variety of garments including hoodies, sweatshirts, tanks, and even tote bags.
Tools and Materials You’ll Need
1. Screen Frame
A wooden or aluminum frame tightly stretched with a mesh fabric. The mesh count affects the amount of ink passed through.
2. Emulsion
This light-sensitive substance is applied to the mesh to create a stencil after exposure to UV light.
3. Squeegee
A rubber blade used to press ink through the mesh screen onto the shirt.
4. Inks
Plastisol and water-based inks are the two most common types used in screen printing.
5. Exposure Unit or UV Light Source
Used to expose the emulsion-coated screen with your design.
6. T-Shirts or Other Garments
Choose 100% cotton or high-quality blends for best results.
Step-by-Step Guide to Silk Screen Printing a T-Shirt
Step 1: Create Your Design
Use graphic design software like Adobe Illustrator or Photoshop to create a high-contrast, one-color design. Save the file in vector format for the cleanest output.
Step 2: Print the Design on Transparency Film
Print your design onto a clear acetate or transparency film using a laser or inkjet printer. This will be used to expose your screen.
Step 3: Prepare the Screen with Emulsion
Coat your screen evenly with photo emulsion using a scoop coater. Let it dry in a dark, dust-free environment.
Step 4: Expose the Screen
Place the transparency with your design onto the screen and expose it to UV light. The light hardens the emulsion, except where the black design blocks it.
Step 5: Wash Out the Screen
After exposure, rinse the screen with water. The emulsion under the black parts will wash away, leaving a stencil of your design.
Step 6: Set Up Your Printing Station
Lay your t-shirt flat on a platen or printing board. Secure the screen in a hinge clamp to ensure precise placement.
Step 7: Apply the Ink
Pour a line of ink at the top of the screen, then use the squeegee to pull the ink across the stencil in one smooth motion. Repeat once or twice for full coverage.
Step 8: Cure the Ink
Use a heat press or conveyor dryer to cure the ink. Plastisol inks require about 320°F to fully set. Proper curing is key to durability.
Common Mistakes Beginners Should Avoid
Using the Wrong Mesh Count
A mesh that’s too fine or too coarse can ruin your design. Use lower mesh counts (110-160) for bold designs, and higher mesh counts (200-305) for detailed images.
Poor Screen Exposure
Underexposure or overexposure can ruin the stencil. Always test your exposure time and follow the emulsion manufacturer’s instructions.
Not Curing the Ink Properly
Ink that isn’t cured at the correct temperature will crack or wash out over time. Always test your curing setup before full production.
Ignoring Fabric Type
Different fabrics absorb ink differently. Cotton is ideal, but polyester requires special inks to prevent dye migration.
Tips for Better Silk Screen Printing Results
Keep Your Workspace Clean
Dust and lint can get trapped in the emulsion or ink and affect your print quality.
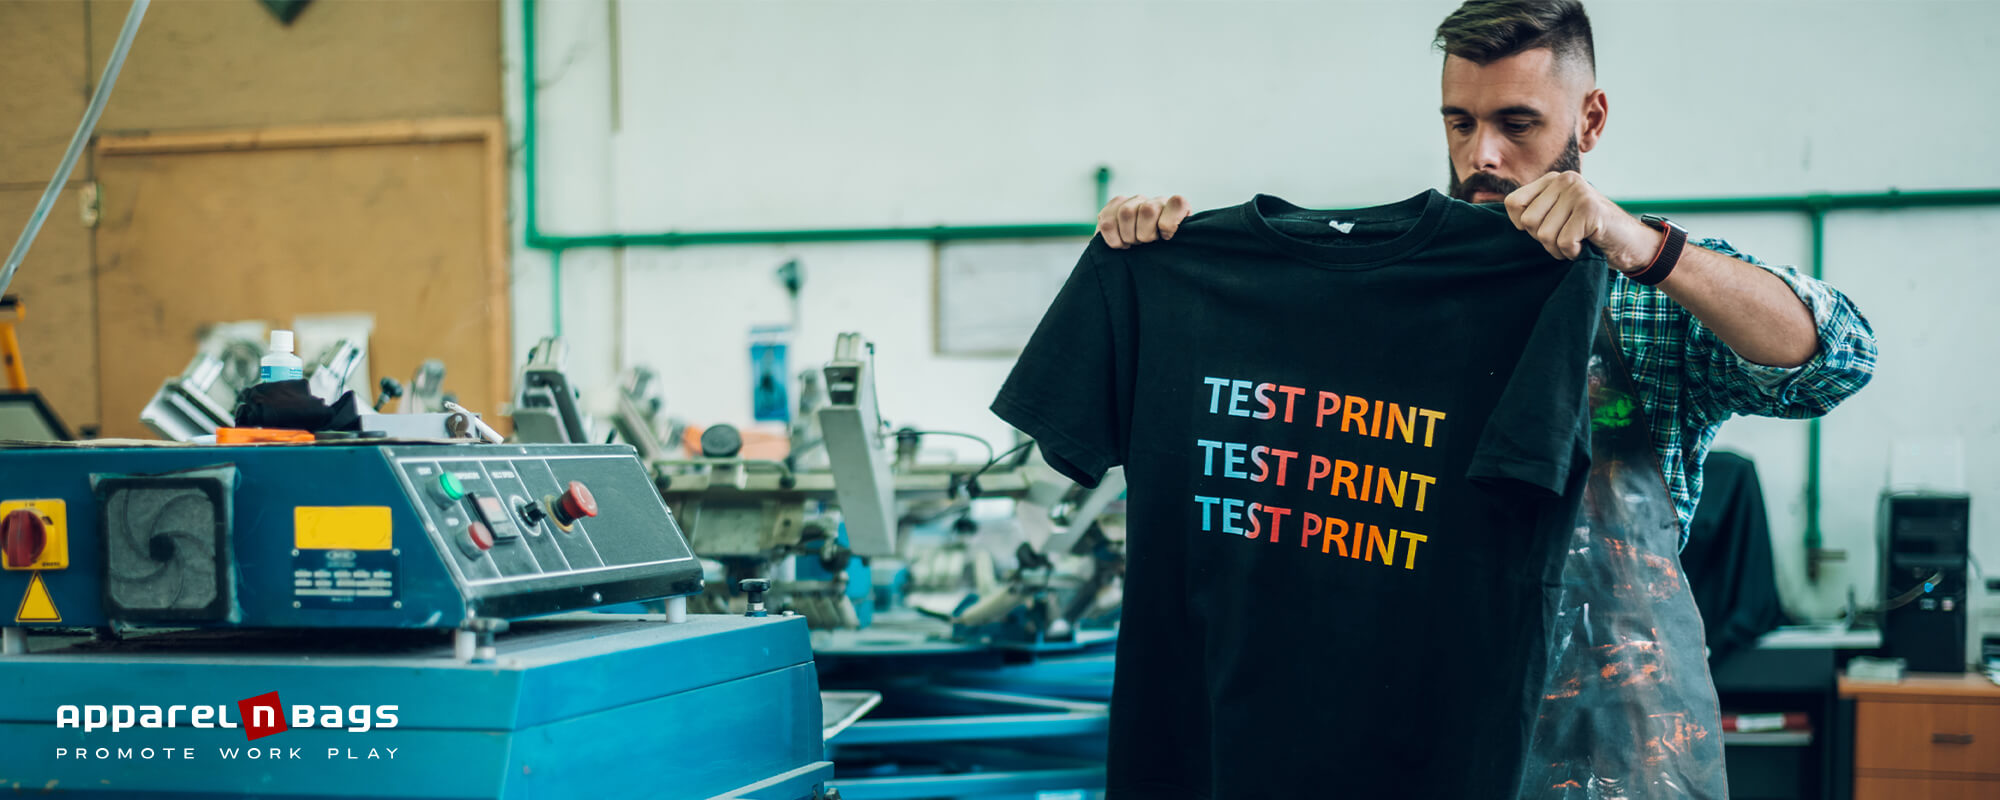
Test Prints First
Always do a test print on scrap fabric before printing on your final product.
Layer Light to Dark
If you’re printing multiple colors, always print lighter colors first, followed by darker shades.
Keep Consistent Pressure
Use the same angle and pressure each time you pull the squeegee to ensure even ink coverage.
Silk Screen Printing vs Other Printing Methods
| Method | Pros | Cons |
| Silk Screen Printing | Durable, vibrant, cost-effective | High setup time, not great for small batches |
| Heat Transfer | Easy for small orders | Less durable, may peel |
| DTG (Direct to Garment) | Great for photo-quality prints | More expensive for large runs |
| Sublimation | Best for polyester garments | Not suitable for cotton |
When to Choose Silk Screen Printing
- Large orders (25+ items)
- Bold, simple designs
- Team uniforms or merchandise
- Repeat prints over time (reusable screens)
Advanced Options for Silk Screen Printing
Specialty Inks
Metallic, glitter, glow-in-the-dark, and puff inks can add dimension and flair to your prints.
Multicolor Printing
Though complex, multi-color screen printing allows for layering of vibrant designs using registration marks for alignment.
Water-Based Inks
Eco-friendly and soft to the touch, though less vibrant on dark fabrics.
Conclusion
The Takeaway
Silk screen printing is both an art and a science. With the right tools, techniques, and patience, you can produce professional-quality custom t-shirts from your home or shop.
Practice Makes Perfect
Like any craft, silk screen printing requires practice. Start with simple one-color designs, master the basics, and gradually explore more complex projects.
Final Words
Whether you’re launching a clothing brand, printing merch for your band, or making custom shirts for a local event, silk screen printing offers unbeatable quality and flexibility. And now that you have a solid foundation, you’re well on your way to mastering the art of custom t-shirt screen printing.
FAQs
Is silk screen printing the same as screen printing?
Yes, they are the same. The term “silk” refers to the original mesh material used.
Can I do silk screen printing at home?
Absolutely! With the right equipment and setup, home screen printing is possible.
How long does a screen-printed shirt last?
With proper care and washing, it can last for years without fading.
How do I clean the screen after use?
Use a screen wash or emulsion remover to clean and reclaim your screen for reuse.
What is the best fabric for silk screen printing?
100% cotton is generally the best, but blends and synthetics can work with proper inks and techniques.